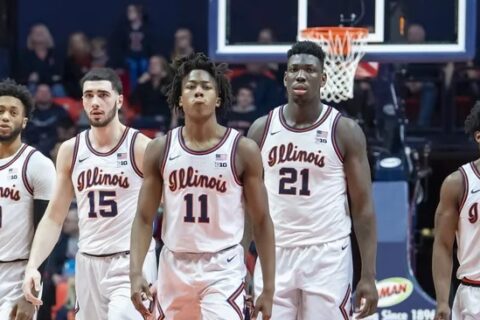
Earlier this week, Rick Barnes stated that Tennessee basketball is not in a rush to…
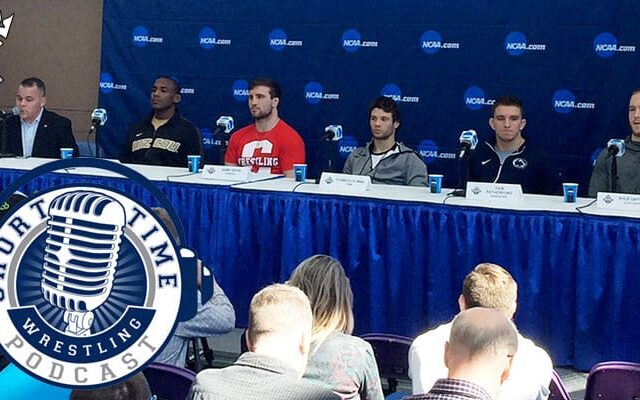
Over two thousand collegiate men’s basketball players transferred to other universities. Since its launch on…
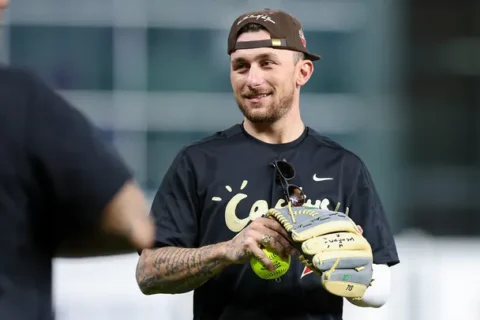
During his time, Johnny Manziel was one of the most well-liked college football players. During…
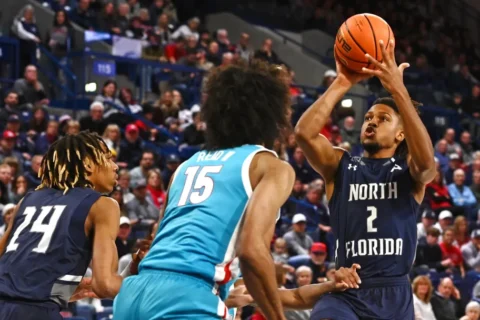
Traveling to Pensacola, Florida, Brian Kelly and his recruiting staff extended an offer to a…
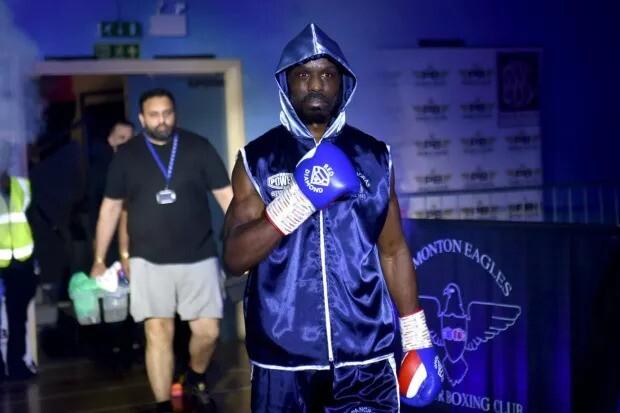
Sherif Lawal, a middleweight trained at St Pancras BC, passed away Friday night (May 12) after making his debut at ... Read more
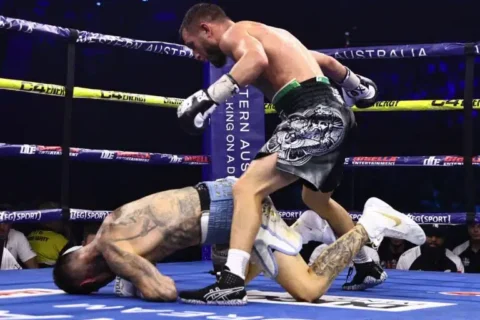
Before Kambosos was eliminated early in the eleventh round, the Ukrainian showed to be the…
Regarding the doping incident involving Ryan Garcia, the first welterweight boxer, new information has surfaced.…
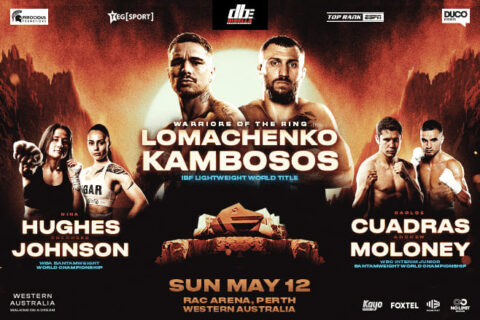
Catch all the action of Loma v Kambosos live Boxing and loud on Sunday 12th…
Sports Professionals are a global cultural mainstay and a medium that cuts across language barriers. At the fourth annual Maryland ... Read more
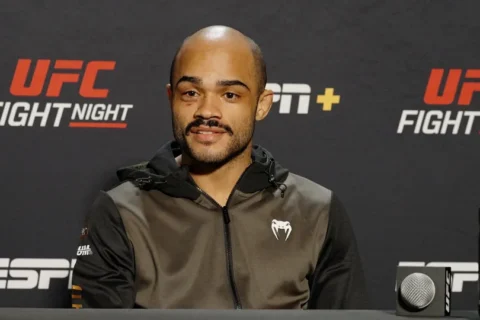
Victor Hugo won Dana White’s Contender Series last year, earning him a spot in the…
Sherif Lawal, a middleweight trained at St Pancras BC, passed away Friday night (May 12)…
The NFL confirmed on Monday that the Baltimore Ravens will play the Kansas City Chiefs,…